


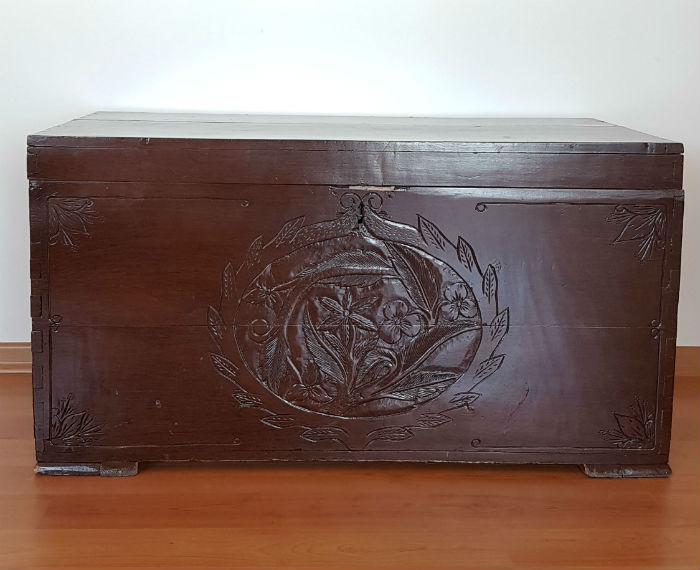
Recently, I was pretty hardworking. Recently, I decorated my balcony and shared it with you. Now, it is time to change my old chest. I am bored of shiny walnut tree colour of my mother’s old chest and I think the colour was poorly applied. This old type look that eliminates all that natural wood look is not my thing. Especially, it is even impossible to see carving on the chest. So, I wanted to make a radical change. My goal is pastel blue and green tones. While searching for perfect colours, I found Annie Sloan Chalk Paint. I really loved colour palette. When I did a bit research, I learned that these easy to use paints are water-based. Best part is you can apply these pain without applying sandpaper on painted surface.
When I first heard prices of Annie Sloan Chalk Paint, it was super high. You can paint 13 square meter area with this size of chalk. But if you want to paint single furniture like me, there is other size option. After seeing this amazing pastel colour palette, I bought “Duck Egg Blue” colour without changing my mind. Also, I bought a small size wax for matt finish and use own wax of this water-based paint. But you can buy this wax cheaper from IKEA and other brands. I choose this one to make a review video.
Annie Sloan Chalk Paint Application
Well, since I will work on plain surface, I preferred a small roll. You may use more paint with roll compared to brush. But it is more practical to use roll rather than struggle with eliminating brush strokes.
Before starting painting, I filled carving of the chest with wax so that paint will be absorbed by these parts. I have heard that you can also use Vaseline for that but I have never tried it. Then, I overturned the paint and shake it based on instruction and opened it. Since Annie Sloan Chalk Paint claimed coverage with single layer, I didn’t add water to the paint. Yes, as in acrylic paint, you can have lighter texture with water. When I applied paint on the roll, extreme coverage is visible at the first moment. One layer was enough for me. Since I will try to have wearied effect, I let the paint dry.
Paint dried as short as 1 hour but I waited for 1 day before any other step. I started my next wearied look effect with a thing sandpaper like sponge. After this paint was dried, it has blackboard texture as the name suggest. So, next step was super easy. I have the look I want without much effort. I applied the sandpaper on edges and corners. During this process, you need to take all the dust with dry and clean towel.
Waxing with Annie Sloan
Lastly, it is time for waxing. Since this is my first waxing experience, I applied the wax as described in Annie Sloan YouTube channel. After applying transparent wax with a brush on the surface, you need to clean the surface with a towel that doesn’t leave any fibres. You need to apply plenty of wax to cover all surface. Also, this is necessary so that paint will absorb this wax. During application, I tough it looked a bit wavy. But afterwards, that look completely disappeared. By the way, this wax made the colour darker. I think we can avoid this. I waited 1 day after waxing and the results were better than I have expected.
Wax is a beeswax based material that is used instead of varnish. There is no shiny look and horrible smell of varnish. I have testes the protectiveness level thanks to my friends. When I placed the chest, turnip juice spread over after 2 days (like in those commercial). I cleaned the chest but in the morning there were stains. When I cleaned with slightly wet cloth, all stains disappeared. The best thing of this paint is it has no smell due to water-based structure and it can easily be cleaned with water. You can clean your hands, brushes and other things with water.
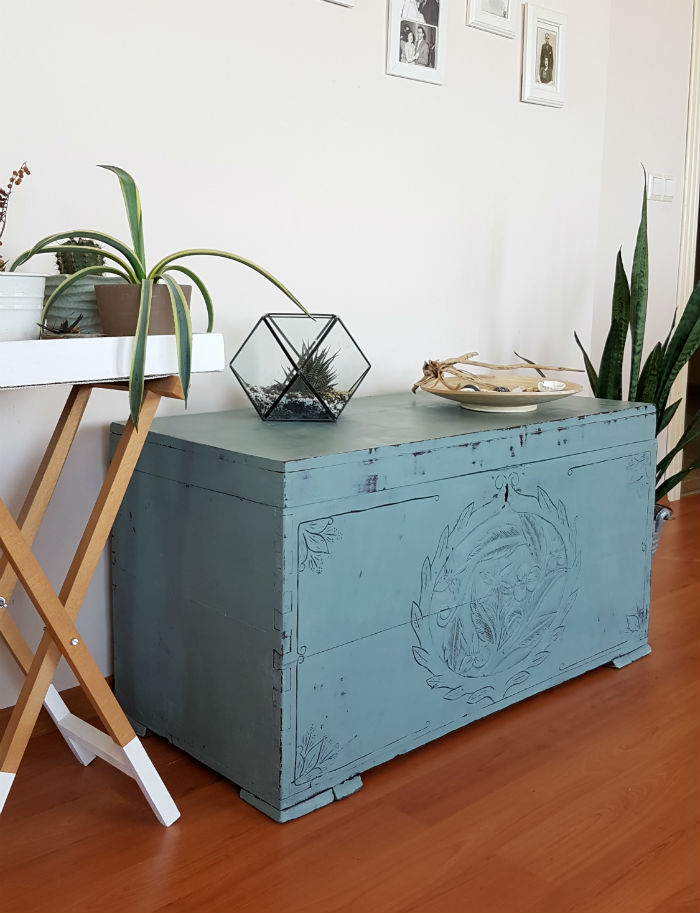
Do you use such matt finishing paints? And what do you think about the new look of my chest?


